

How to Care for a Cannabis Plant?
Table of contents
- Genetic selection, environment planning and pot volume.
- Germination and early days
- Growth stage: light, water and air
- Flowering stage: the show begins
- Final days: cleaning and patience
- Harvesting, drying and curing
Home cannabis cultivation has increased significantly in recent years worldwide. If you're one of those people who has decided to grow cannabis for personal use, or you're thinking about it, Growlobby explains how to care for a cannabis plant and offers you the best growing accessories for your plants.
Caring for a cannabis plant is not complicated, but it requires consistency, observation and understanding what the plant needs at each stage. If you want a healthy and potent harvest, here's a clear and straightforward guide to growing it from scratch – you're sure to improve your results from your first grow.
1. Genetic selection, environment planning and pot volume.
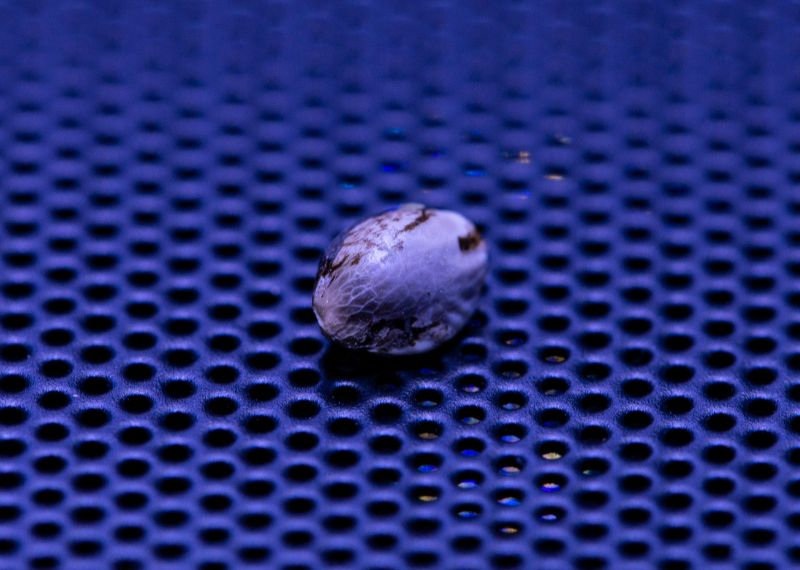
Before planting, decide what type or types of seeds you're going to use:
- Looking for speed? Choose Autoflowering. They're fast, discreet and sensitive to errors.
- Want production? Choose Feminised. Greater control and higher yields.
- Prefer to select phenotypes and make your own crosses? Choose Regular.
The next step to ensure your cannabis plant receives proper care is to provide a suitable growing environment for plant development.
Choose a growing medium, whether hydroponic, aeroponic, soil or coco, whether it will be indoors or outdoors and what will be the characteristics of the medium so we know what nutrients we need to add.
Growing indoors is not the same as growing outdoors.
Indoors you control the climate, but you depend on lighting, extraction and filtering equipment.
Outdoors you save on light, but you're at the mercy of the weather and nosy neighbours. You'll need a minimum of 4 hours of direct sunlight on your plants.
Decide which environment works best for you.
Finally, before you start germinating, decide on the volume of pots you're going to use. If you're growing indoors, you normally use smaller pots than outdoors, although it's your decision.

For Autoflowering seeds:
- Indoors you can use 11L-18L pots.
- Outdoors you can use 25L-35L pots.
For Feminised seeds and Regular seeds:
- Normally indoors you start with 7L pots and then move them to pots up to 25L. You can use larger ones if you want.
- Outdoors you set the limit with these seeds, the larger the pot, the larger your plants will be. At Growlobby we have Root Pouch from 7L to 1890L.
Some starter tips:
Some tools for climate control (humidity, temperature and CO2) and specific pH and EC meters can help you a lot from now on and for very little cost.
Avoid fertilising for the first 10 days, the substrate premix is usually sufficient.
2. Germination and early days
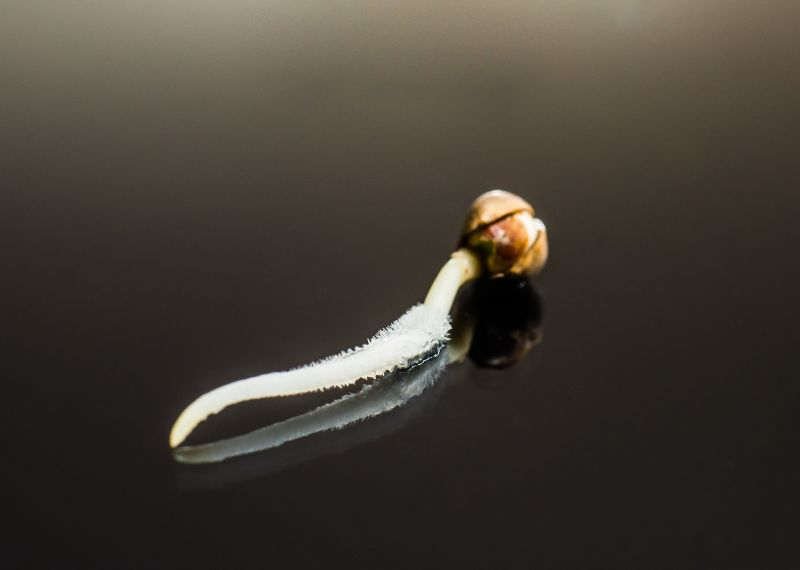
Germination is the first step, and one of the most delicate. You can use damp paper towels, jiffy pellets or go straight to substrate, but what matters is constant moisture without excess, gentle warmth (20–24 °C) and darkness. You can check out our article on how to germinate cannabis seeds if you want to go deeper into this point.
When the root emerges, carefully move it to a small pot. No over-watering: a seedling doesn't need to swim, just drink enough. Neither too wet nor too dry. Make sure it's well aerated.
3. Growth stage: light, water and air
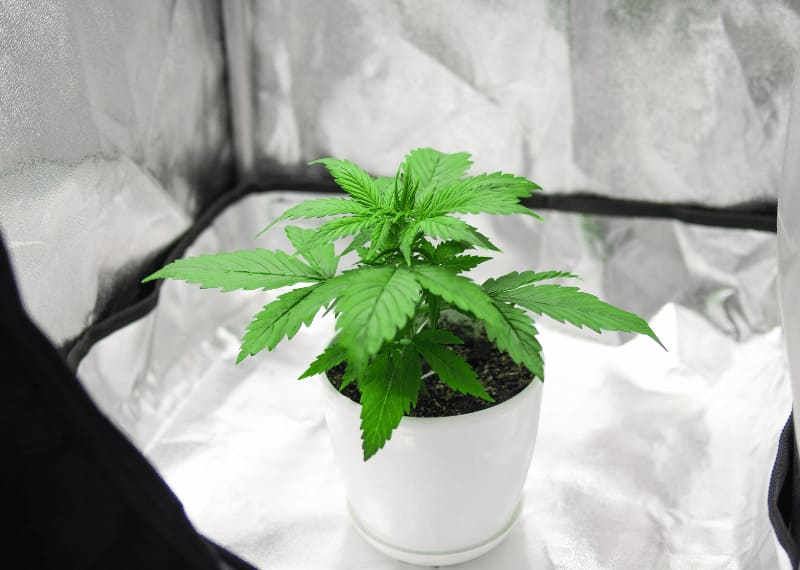
In this phase the plant starts to develop. This is where you can mess up by over-watering. You can start using fertilisers. Cannabis plants need, among others, nitrogen, phosphorus and potassium, present in most organic and mineral base fertilisers. If you choose to use them; mineral fertilisers prioritise production, while organic ones offer greater organoleptic quality (aromas and flavours).
At this stage it's also time to train, prune and strengthen.
- Photoperiod: Indoors: 18 hours light, 6 hours dark. Outdoors it's ideal to plant them in spring, although with the weather we have in Spain we can grow almost year-round.
- Pot: minimum 3 litres, with drainage.
- Temperature: 22–27 °C.
- Relative humidity: 60–70%.
- Start fertilising if you wish lightly when you see the third pair of true leaves. Prioritise nitrogen (N) during this stage.
- And something key: move the air. Without ventilation, fungus will come to the party.
| Week | Target EC | Dominant nutrient |
| 2–3 | 0.8–1.0 | Nitrogen |
| 4–5 | 1.2–1.5 | N + trace elements |
4. Flowering stage: the show begins

When the plant detects it's time to flower (due to the change in light hours, or genetics in autoflowering varieties), it starts producing buds and resins. This is when we start seeing results and getting excited.
- Photoperiod: switch to 12/12 light/dark indoors.
- Lower humidity to 40–50% to prevent mould (Botrytis).
- Maintain constant air flow and renewal.
- Maintain a constant temperature between 20–26 °C
- Support branches: the weight of the buds can bend them. Try to distribute light equally across the plant so no buds are hidden – they love light.
- Increase phosphorus (P) and potassium (K) in your nutrients.
- This is the time to apply techniques like LST or apical pruning if you want to improve production without stress.
- EC: increase progressively from 1.6 to 2.0 depending on the variety.
5. Final days: cleaning and patience
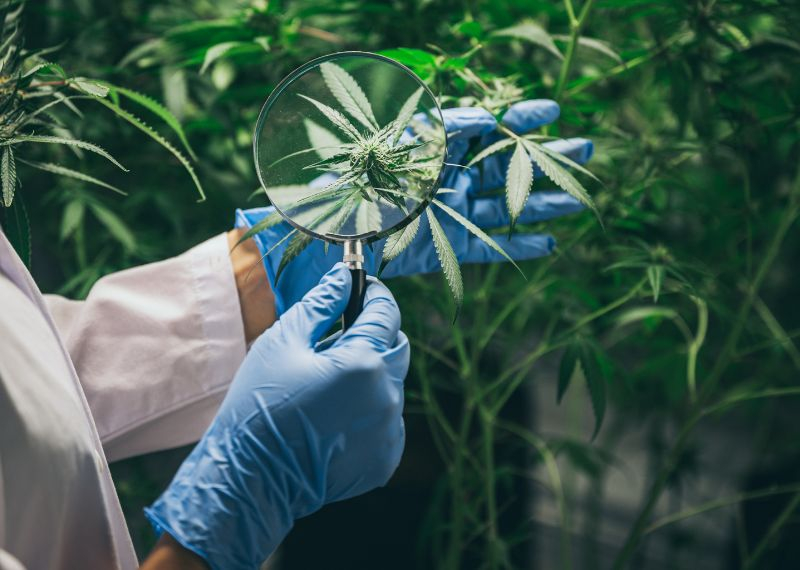
When the trichomes start to change colour (from clear to milky, then to amber), it's time to prepare for harvest.
Flush the roots: water with just water for 10–15 days to remove nutrient residues, it's worth it, removes salts and prevents metallic or harsh flavours.
Let the plant consume its reserves: this improves flavour and smooths the smoke.
6. Harvesting, drying and curing
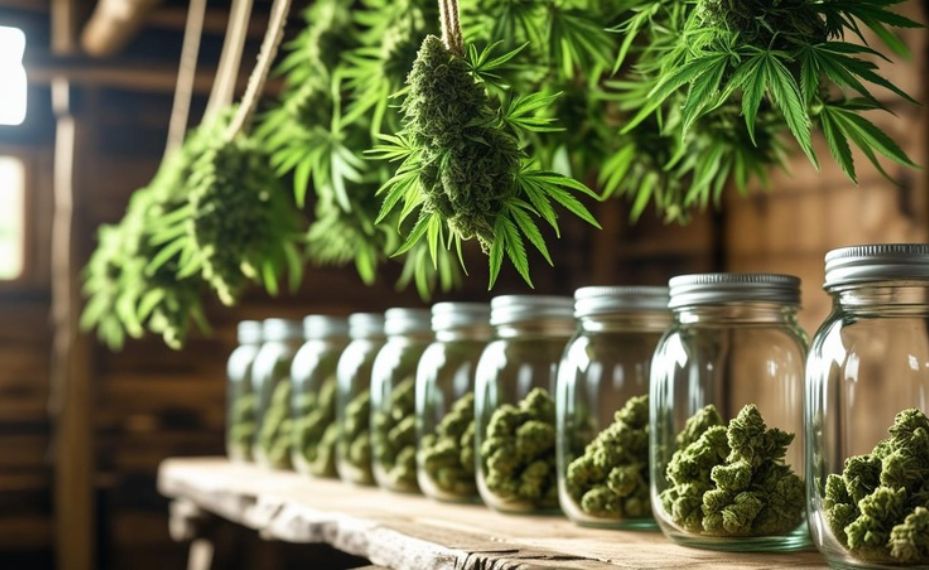
- To harvest cut the plant at the base or cut it by branches, remove the large leaves and hang it upside down in a closed, dark and well-ventilated space. You can use rope to hang it.
- To dry the herb correctly follow these parameters:
- Temperature: 18–21 °C.
- Humidity: 50–60%.
- Complete darkness
- Ventilation without direct draughts.
After about 7–10 days (be careful, because if you don't have the right temperature and humidity your buds can dry crispy in 2 days and lose all their smell) when the small stem cracks when bent, you can trim the buds and move them to glass jars.
- To cure cannabis buds: open them daily for 15 minutes for 2–3 weeks to air and prevent moisture, this process activates enzymatic processes that refine the aroma, it will make the difference between mediocre herb and one that smells divine. Ideally crispy on the outside, elastic inside.
Growlobby tips:
- Always use a pH meter. Water looking good doesn't mean it's suitable.
- If in doubt, water less. Too much water kills more than drought.
- Discretion is part of cultivation. Good smell doesn't always mean good idea.
- Keep notes. Good record-keeping will save you from repeating mistakes. After a few weeks you might not even remember what genetics you planted – label the pot.
Control checklist
| Parameter | Vegetative | Flowering |
| Temperature | 22–27 °C | 20–26 °C |
| Humidity | 60–70% | 40–50% |
| Soil pH | 6.0–6.5 | 6.0–6.3 |
| Watering EC | 0.8–1.5 | 1.6–2.0 |
| Indoor light | 300–600 μmol/m²/s | 600–1000 μmol/m²/s |
| Watering | Only when dry | Higher daily demand |
| Ventilation | Constant | Vital to prevent moulds |
Conclusion:
Growing well is a matter of method. Caring for a cannabis plant isn't mystical art: it's technique, data and attention. You don't need to study a master's degree, but you do need to understand that each stage has its own language.
At Growlobby we give you the tools to translate that language into results: from optimised substrates, precise fertilisers to full-spectrum lighting.
Are you ready to go from "let's see what happens" to "I know what I'm doing"?

Comments
Leave a comment