

Grow Tent Setup
Indoor growing has gained considerable popularity among gardening enthusiasts, particularly among those looking to optimise their plant conditions. Growing cabinets are an excellent solution to achieve this, and in this post, we'll show you how to set up a growing cabinet step by step.
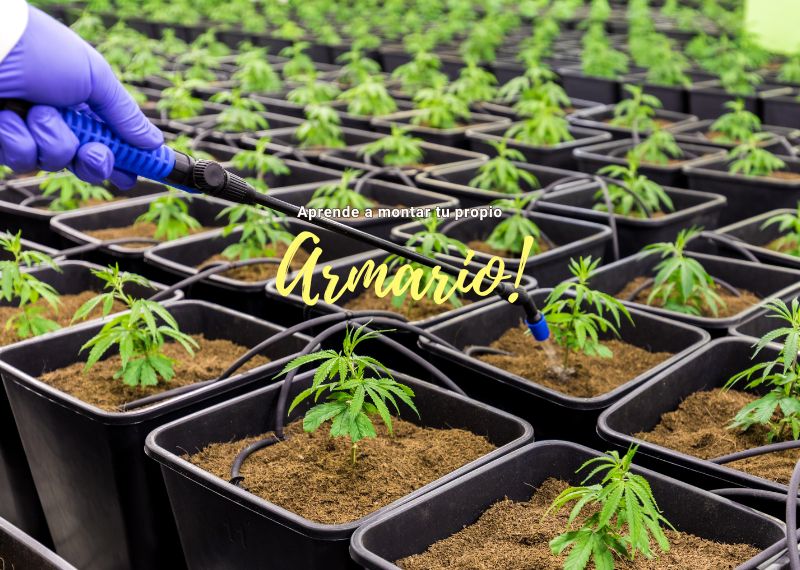
Step 1: Choosing the space and cabinet size
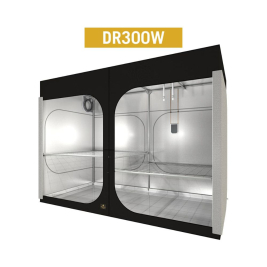
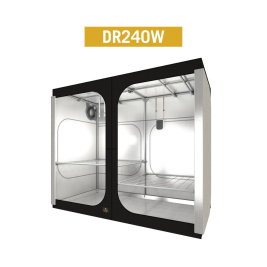
The first step in setting up your growing cabinet is to determine the space you have available to calculate your growing area size. There are many growing cabinets available on the market, ranging from small models for beginners to larger structures for experienced growers. The cabinet size may also be determined by the number of plants you plan to grow or the power capacity you wish to allocate.
Step 2: Assembling the structure
Once you've selected your cabinet and received it at home, it's time to assemble it. Most growing cabinets come with detailed instructions. If not, you can follow these instructions carefully to ensure a sturdy and secure structure. Once the main structure of your future cabinet is assembled, unfold it and start fitting the base to complete the assembly process. You should also ensure that the zips are in perfect condition and fully close the cabinet.
Step 3: Installing the lighting
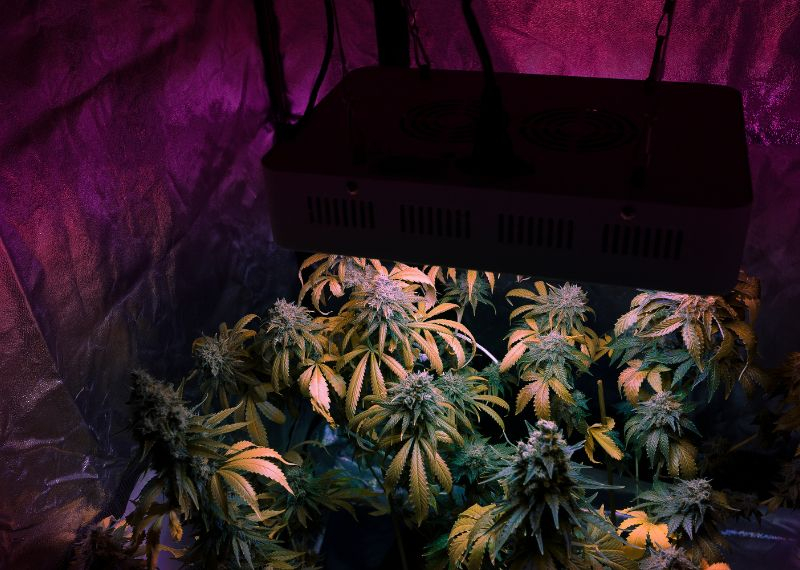
Lighting is essential in indoor growing. Depending on the type of plants you wish to grow, you should select appropriate lighting. Make sure to hang the lights at a height that provides uniform coverage to your plants, but that can also be adjusted as they grow. To control the schedule when lights are operating, we recommend using a light controller or, alternatively, a timer.
Step 4: Installing the ventilation system
A good ventilation system is essential to provide your plants with the oxygen they need and to prevent moisture accumulation that can lead to mould problems. You should install at least one extractor fan and consider including a carbon filter to remove odours. It's important to know that fans should not blow directly onto your plants, as this could be harmful, causing your plants to become stressed and not produce the flowers they should.
Step 5: Setting up the irrigation system
Water is essential for your plants, and your irrigation system for growing must be able to provide it uniformly. Depending on your experience level and the size of your cabinet, you can opt for drip irrigation systems, hydroponics, among others.
Step 6: Monitoring and climate control
Temperature and humidity are crucial for your plants' growth. Acquire thermometers and hygrometers to monitor these conditions. Additionally, consider obtaining a climate controller to automate these parameters.
Step 7: Introducing your plants
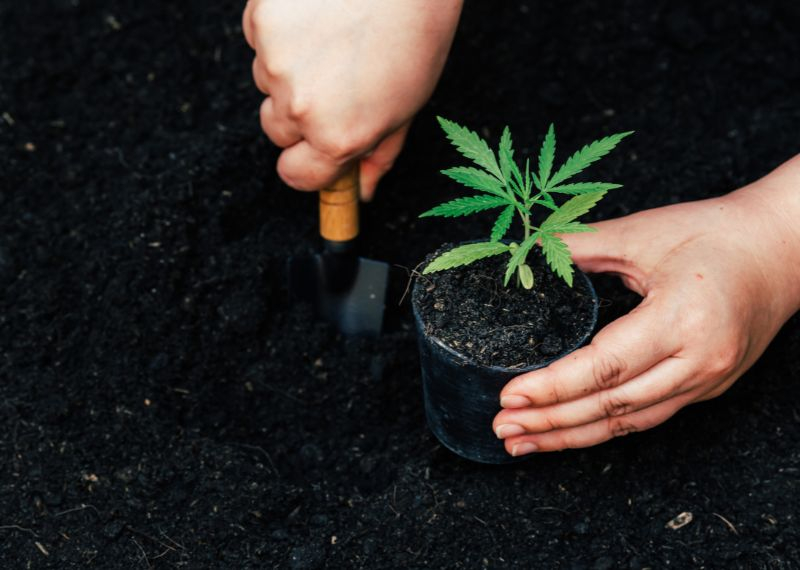
Once everything is in place, it's time to introduce your plants into the cabinet. Make sure to take into account the specific needs of the plants you're growing and adjust your systems accordingly.
Step 8: Maintenance and care
With everything up and running, your main task will be to monitor your plants and ensure they're receiving everything they need. This will include the use of growing products, such as fertilisers, fungicides and insecticides for plants, when necessary.
In conclusion, setting up an indoor growing cabinet requires attention to detail and a commitment to continuous plant care. However, with proper preparation and the right equipment, you can achieve a thriving and healthy indoor garden.
Comments
No comments yet — be the first.