
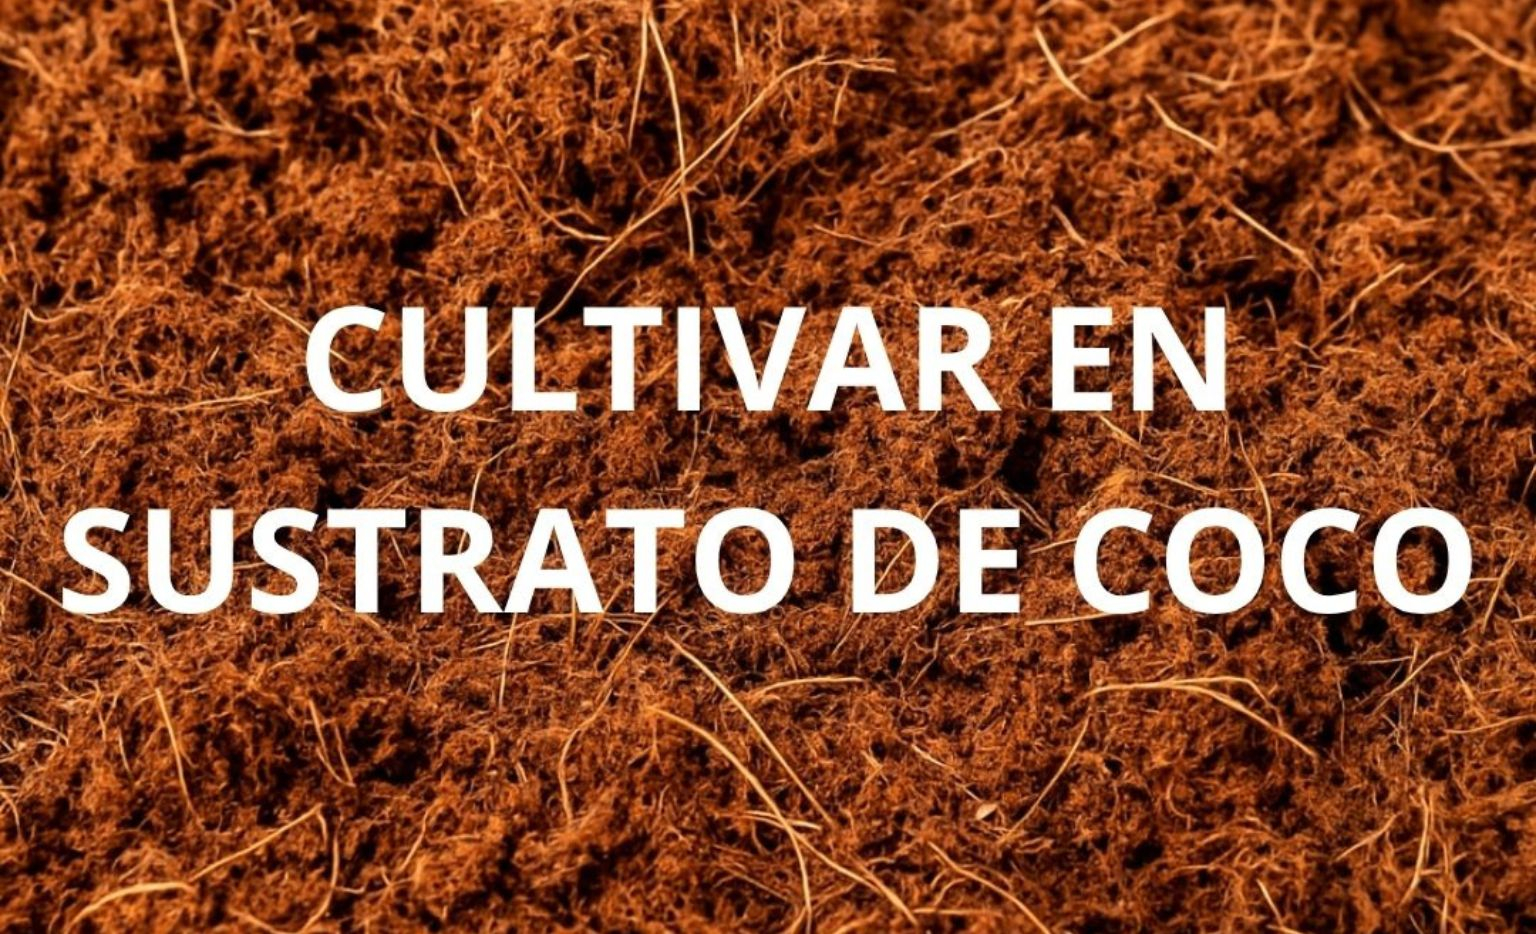
Growing cannabis in coco: Step-by-step guide
Growing cannabis in coconut fibre has become an increasingly popular technique for both beginners and experienced growers. Whether you're transitioning from soil cultivation or setting up your first indoor grow, coconut coir might seem unusual at first, but it has many advantages. If you give it a try, you'll find it becomes your best ally for achieving faster, cleaner and more productive harvests.
Introduction to growing cannabis in coco
Cultivating with coconut fibre means cultivating in a perfect medium for your plants, but with one key difference. It's an inert medium and therefore a hydroponic growing medium – meaning it contains no nutrients in itself (although some brands add a nutrient base). This means that you must supply nutrients from the first watering, controlling pH and EC.
Coconut coir enables precise feeding, excellent aeration and root development that is much harder to achieve with soil.
In this guide we explain step by step how to grow cannabis in coco, we tell you why many growers won't use anything else, and what you need to know to get the most out of this substrate.
Benefits of growing cannabis in coco
- Inert substrate (no nutrients) and highly porous.
- Excellent water retention and drainage: maintains the ideal environment for roots, preventing waterlogging and suffocation.
- Optimal aeration: allows roots to breathe, promoting nutrient uptake and vigorous growth.
- Stable pH (≈ 5.8 – 6.2): facilitates pH control and improves nutrient assimilation.
- Lower risk of pests and pathogens: being inert, it doesn't harbour harmful microorganisms like other substrates.
- Sustainable and reusable: you can wash and reuse it for several cycles, saving resources and money.
How to grow cannabis in coco step by step
- Substrate preparation
- Recommended pot types
- Watering concepts
- Nutrition and fertilisers
- Rehydration: If starting with compressed bricks, soak them in warm water (preferably pH-adjusted to 5.8–6.0) for 10–30 minutes until they expand. Then crumble and sieve to remove lumps. If starting with regular coco this step is not necessary.
- Wash and rinse the coco to remove residual salts and stabilise pH.
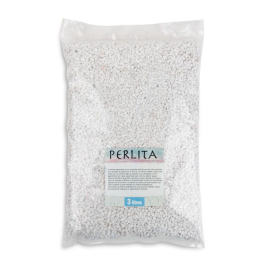
- You can mix it with perlite (30 %) to improve drainage and aeration, or add vermiculite if you want better nutrient retention.
1. Substrate preparation.
You can find coco in two different forms: bags of coconut fibre or coco bricks. Bags are more convenient because they don't require rehydration, rinsing or conditioning – they come completely ready to start your cultivation.
2. Recommended pot types.
Coconut coir has a very aerated structure and drains quickly, so the choice of pot directly influences root development. These are the most recommended:
| Pot Type | Main advantages | Growlobby Recommendation |
| Fabric pots (geotextile) |
|
ProPot Fabric Pots |
| Square plastic pots |
|
Square Plastic Pot |
| Autopot/Wilma System pots |
|
Wilma XXL Kit 16 pots |
| PotPro Floraflex pot |
|
PotPro Floraflex Pot |
| Grow bag |
|
Grow bag |
Pot size for coco
The size of pot you choose should vary depending on the number of plants you want per square metre.
Coconut coir drains very quickly, so the pot structure matters a lot. In a set-up of between 9 and 16 pots per square metre we recommend using pots of between 3 and 7L.
In coco you don't need pots as large as in soil, since the root system develops faster and you can get large plants with less volume.

3. Watering concepts.
Maximum yields can be achieved in coco with manual watering and precision automatic watering.
In Spain most growers use manual watering, but for best results automatic watering systems are recommended, with which you can increase watering frequency and thus improve precision.
|
Concepts relating to watering in coco |
|
|
Managing watering in coco |
|
|
Controlling drying for your waterings |
|
4. Nutrition and fertilisers.
The recommended EC in growth is between 0.8–2.5 / flowering: 1.2–3.0. If the drainage EC is higher than desired it's important to provide a watering with just enzymes and/or do a substrate flush every 15 days to prevent salt build-up.
Recommended:
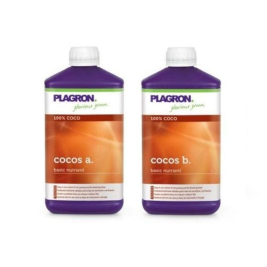
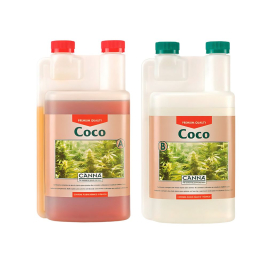
Coco-specific fertilisers: Plagron Cocos A+B or Canna Coco A+B, both products are on offer on our website, take advantage.
Coco isn't a harder growing medium than soil, but it won't forgive mistakes. If you control watering, drainage, pH and nutrition, your plants will reward you with white roots, thick stems and very compact buds. It's the perfect substrate if you want professional yields in a home space.

Conclusions about growing cannabis in coco
Coco cultivation offers healthier plants, rapid growth and excellent nutritional control, ideal for those seeking yield and quality. Although it requires care in watering and nutrients, the results speak for themselves: strong roots, abundant harvests and a sustainable system.
Remember that it's important to correctly manage plant drainage and that by controlling EC you can also determine whether you're providing nutrition correctly.
It's also crucial that watering is in the right quantity and at the right time to maintain root health and vigour and ensure maximum yield.
Leave us a comment if you've enjoyed this post. We hope it's useful and that you can benefit from it!
Comments
No comments yet — be the first.